Amazon catalogs are a big deal. They’re the heart of your business, and you need to protect them at all costs.
Back up your Amazon catalog, and save your title, your bullets, and your description. Access your catalog and create a backup of the attributes to save yourself from the troubles of dealing with this with Amazon.
To access your catalog and create a backup, follow the following steps:
- First, log into seller central up at the top here:

- Place your cursor over Inventory Reports you can go over to inventory reports that’ll bring up this screen:
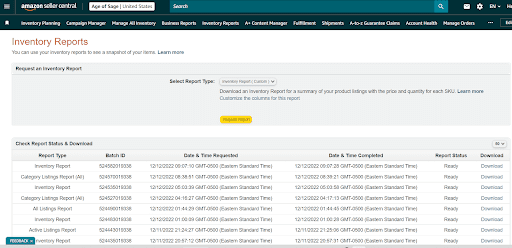
- Click the drop-down to switch this to the Category Listings Report (CLR). The little yellow alert says the category listing’s report is in beta please note that the report and its features may be changed or removed at any time so this could be a moving target .
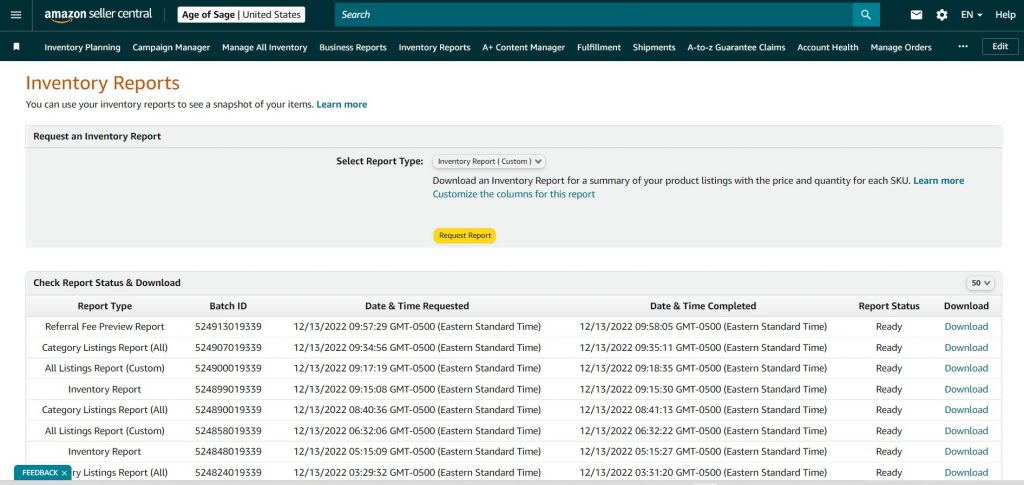
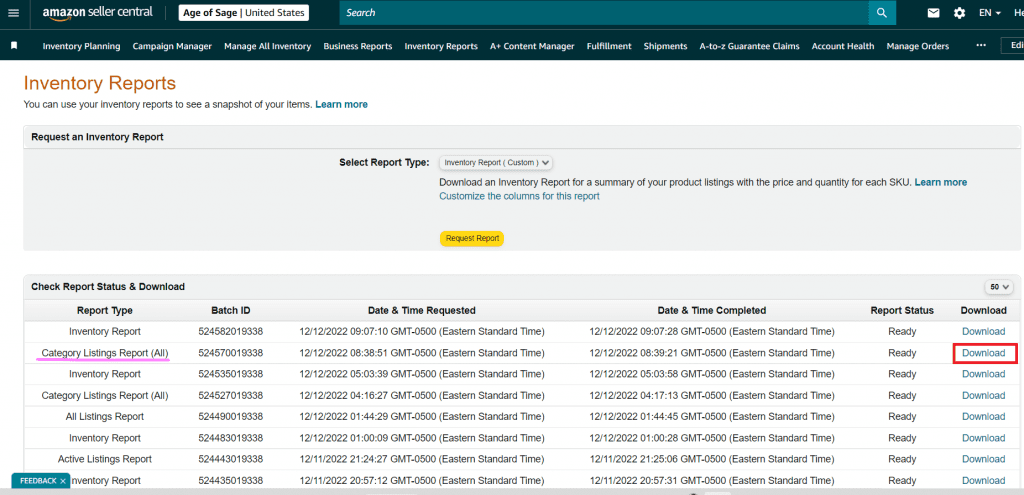
- Once, that’s done you can see these category listings report (ALL) in the parentheses, and that’s how you know you got the right report. Just simply hit that download button on the far right, and then that’s going to bring up your file:
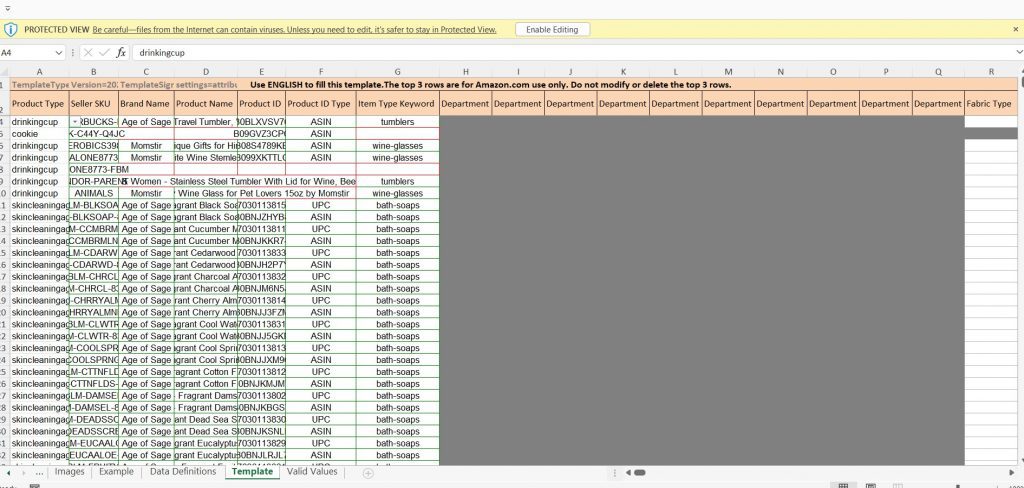
- After downloading the file, open it in an excel file, and at the top, click the enable editing button. All the classic core attributes in the peachy tannish type of color are displayed in the file such as product type and there are column items for SKU, brand name, etc. Simply save this file call it catalog backup save it in a folder. Anytime you’re about to make a catalog change that’s when you should be doing a catalog backup. You can either do an Update, a Partial Update, or Delete.
To learn more on how to back up your Amazon catalog, watch this tutorial video.
00:00 How to Back Up Your Amazon Catalog Data
00:15 Access catalog and Walkthrough on its crazy attributes
00:23 Login to Seller Central,
00:27 Go to Reports
00:30 Click on Inventory then, select Reports
00:36 On the dropdown, switch to Category Listings Report
00:38 A yellow alert will appear on your screen (Category Listing Report is in BETA)
00:52 Importance of creating a backup for your catalog
01:33 Click on Request Report
01:58 Hit the Download button once you’ve seen Category Listing Report (All)
02:27 Open the file in Excel and click on Enable editing
02:35 Showing the Core attributes
03:03 Save the file and put a file name with the date
03:17 Explaining how to work on 1 SKU
03:37 Work on 1 SKU at a time
03:46 Minimize the product’s data that you are working on
04:21 Walkthrough on how to do a partial update on your catalog
04:23 The most important thing that you need to know in doing Catalog data changes
04:30 Explaining the difference between Partial update, update and delete
05:31 Make all the required changes
05:33 Load the file back in, go to Seller Central
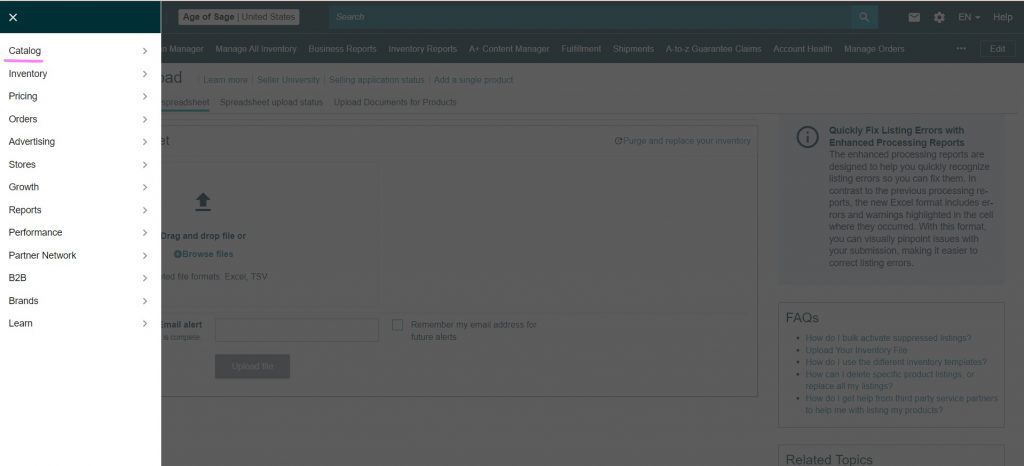
05:40 Click Catalog and Add products via Upload
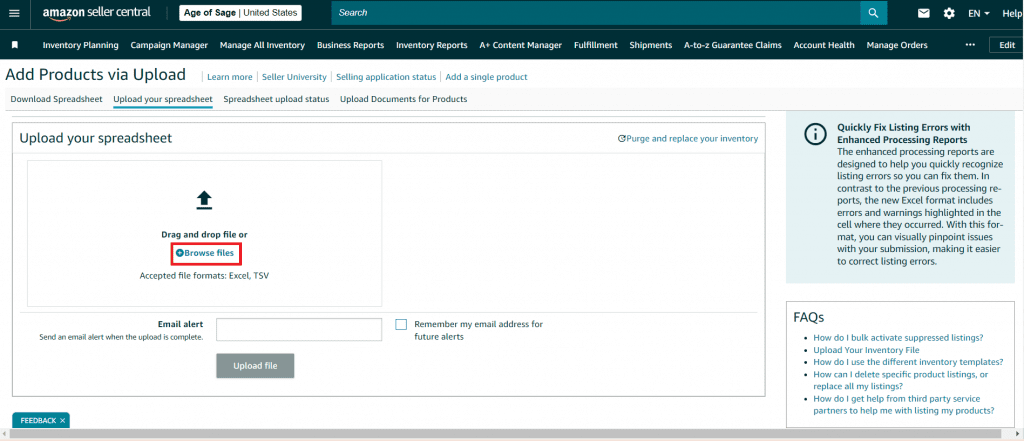
05:45 Select Upload your Inventory File section and then, browse for the file
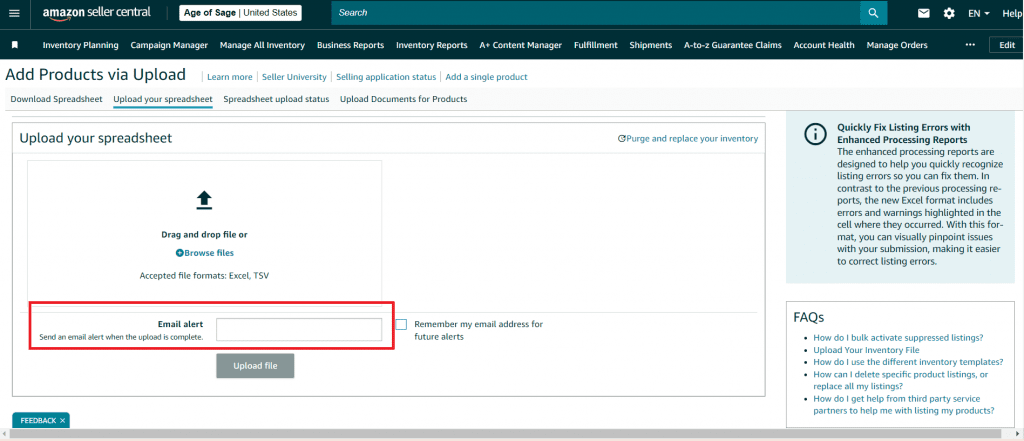
05:49 Put your email to track the results of the file
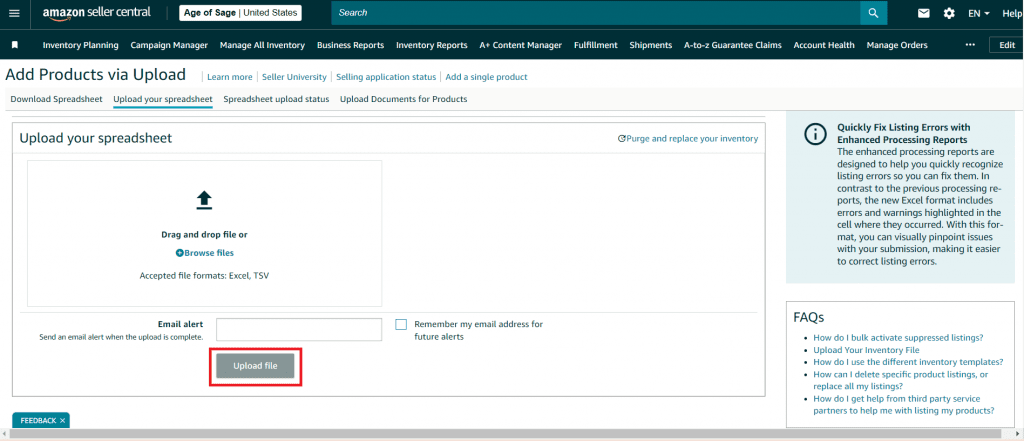
05:53 Click upload and check for errors


